Hello Stamping Friends,
Thank you to those who were able to join me for yesterday’s Facebook Live! Here is the recording followed by pictured directions:


We have done front panel cards before but this one is a bit different because it has a ‘false’ bottom that does not attach to the panel. You put an extra piece of black cardstock at the bottom to give it the dimensional look (and a great way to line up the white inside piece).
 So we really don’t need to watch the video, do we?!
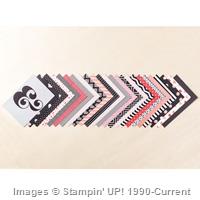
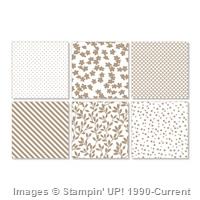
Besides showing off the beautiful True Love Designer Series Paper, in the video I taught:
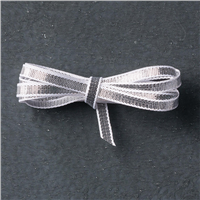
- how to make a three loop bow with your fingers- the video is a great way to learn and practice.
- how to use the edge pieces of your Designer Series Paper- obvious in the picture, but we sometimes forget.
- how to make a pop up slimline card with interesting folds that are a bit complicated to describe with words.
True Love Designer Series Paper Any Occasion Card
This card was cased from Peggy Noe of Pretty Paper Cards. I added the bow where she put a greeting and I used three flowers and an inside flower to remind us why we don’t throw away those scraps.
- Base: Basic Black, 7 3/4 X 4 1/4, score at 2 1/4 on the vertical
- Bottom Base: Basic Black, 2 X 4 1/4
- Panel: Basic Black, 1 3/4 X 4
- Top Border: Highland Heather, 2 X 4
- Bottom Border: Highland Heather, 1 3/4 X 4
- Top of the top: True Love Designer Series Paper, 1 3/4 X 3 3/4
- Top of the bottom: True Love Designer Series Paper, 1 1/2 X 3 3/4
- Top of the panel: Whisper White, 1 1/2 X 3 3/4
- Inside: Whisper White, 3 3/8 X 4
- Ribbon Strip: Whisper White, 1 X 3 3/8
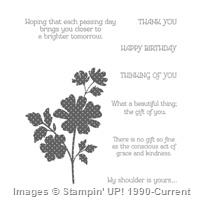
- Message: Whisper White, 2 X 2, Cut with Tasteful Labels Circle or use a Merry Message
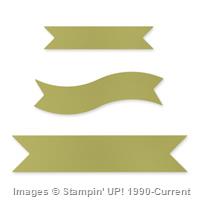
- Ribbon: Gorgeous Grape 3/8″ Sheer, 8″ to wrap the ribbon strip and 18″ for the three loop bow
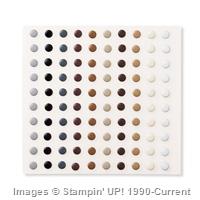
- Pearls: Pastel Pearls, 3
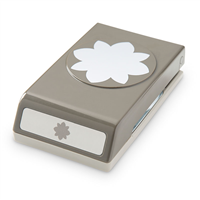
- Flowers: Fussy Cut three from the True Love Designer Series Paper and a part of one from the edge of the DSP for the inside
The slimline envelope was purchased at Hobby Lobby but you could also use a legal envelope.
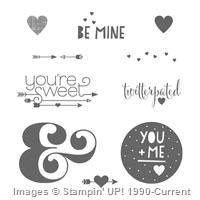
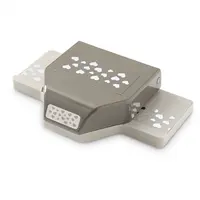
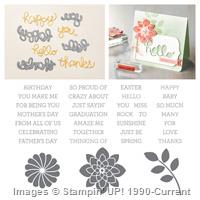
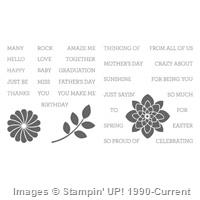
The greetings are part of the Many Messages Stamp and Die set in the JJ Mini, page 35. Lori Moore, our Carin’ Crafter extraordinaire organizer, found a tackle box and sorted the greetings in different sections:

Thank you, Lori! Here is the link: https://www.amazon.com/Flambeau-Tuff-Tainer-Model-4007/dp/B000LF3E8O/ref=sr_1_9?dchild=1&keywords=Tackle+box&qid=1613063502&sr=8-9
Slimline Valentine Pop Up Card
With Highland Heather and Seaside Spray:

 .
.
Or with Misty Moonlight as the accent layer:


Which do you prefer?
Seaside Spray for the gals, Misty Moonlight for the guys.
Good thinking, Sal, I saw the base for this card on Karen Aicken’s Painted Mountain Cards site. The ‘Many Hearts Dies’ , ‘Floral Heart Dies’, Hydrangea Hill Designer Series Paper and the Pastel Pearls were used.
- Base: Highland Heather, 3 1/2 X 8 1/2 and another piece 3 1/2 X 6 scored on the longside at 1/2″; fold on the score line and glue to the longer piece. The short side is the front.
- Front Border: Seaside Spray, 3 1/4 X 5 1/4. (the video uses Misty Moonlight)
- Front Layer: Hydrangea Hill Designer Series Paper, 3 1/8 X 5 1/8
- Right Side Border: Seaside Spray, 3 1/4 X 2 3/4 -or Misty Moonlight
- Right Side Top Layer: Hydrangea Hill Designer Series Paper, 3 1/8 X 2 5/8
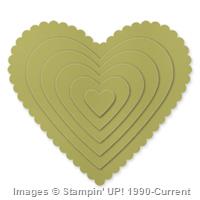
- Heart Backing: Seaside Spray, 3 1/4 X 3 3/4 cut with the scalloped heart from the ‘Many Hearts Dies’
- Heart Front: Hydrangea Hill Designer Series Paper, Use the plain heart die from ‘Many Hearts Dies’ to cut a bouquet from the Designer Series Paper. There are two different designs as you can see by the heart inserts in the pictures, one is the muted, water color look and the other is a rich, bold hydrangea design.
- Greeting on the front right: Whisper White, 1 1/2 X 2 1/2, die cut with the ‘Stitched So Sweetly Die’ and stamp with “Be My Valentine” from the ‘Always In My Heart’ Stamp set using Gorgeous Grape Ink
- Inside Pop up base; Seaside Spray, 3 X 8 or Misty Moonlight
- Inside Top: Hydrangea Hill Designer Series Paper, 2 7/8 X 7 7/8
- Embellishments: 5 Pastel Pearls, 16″ White Twine wrapped around front and back as a belly band
Let’s make the inside pop up:
- Temporarily adhere your DSP Pop Up piece (2 7/8 X 7 7/8) to the Cardstock 3 X 8 piece. I use a touch of snail on each corner and then rub it with my finger so the oils in my finger take away some of the stickiness. Dotto is also a temporary adhesive. You want to cut both pieces together so the cuts line up nicely but you will pull off the top DSP piece to cut the fancy hearts with your dies. Make an arrow on your base and the back of your DSP to realign them after die cutting the hearts.
- Using your paper trimmer, start your cut 1/2″ down and 1″ over on the long side at the right and cut to within 1/2″ of bottom (7 3/4).
- now turn your paper to the other side and do the same, starting the cut 1/2″ down and 1″ over and cutting to within 1/2″ of bottom.
 .
.
- After you make both cuts, score the two attached pieces at 2″- 4″ -6″. Then score the little section at the very middle, 1/2″ over. You will reinforce those scores again later but you need to see that middle 4″ score to line up the hearts die.
- Separate your two pieces and put a piece of double back adhesive on the back of the DSP (page 162 of the AC).
- Die cut the hearts. I used the die from the ‘Many Hearts Dies’ for the middle, centering the very middle of the die on the middle of the DSP; four hearts on the right and four hearts on the left. The little row of hearts on the top and bottom are from the ‘Floral Heart Dies’. Both are in the JJ Mini.
- Remove the adhesive backing and attach the DSP to the pop up base. Paper piece the middle hearts in place.
- Run the piece through the cutting machine with no dies. This pushes the adhesive into the cardstock so the pieces stay well adhered.
- Rescore your pieces. 1/2″ at the middle sides and then at 2-4-6. The paper trimmer score blade works better than the Simply Scored to do this because you can line the edge exactly with the inch marks.
- Now you are ready to fold the pop ups. Start with the partial 1/2″ on each side as a valley fold-downward then take each strip and alternate valley, mountain, valley…..

Okay, now I see why the video is so important!
Yes, Sal, it is easier to understand while watching me do the folds, and you can stop the video, fold, and then restart the video.
- Train your pop up. You want the middle section mountains to go out when folded to even the bulk of the pop up.
- Now that you have it trained, let’s push all the folds back and make a half fold. You need to fold all the sections back down flat and fold the piece in half.
- Put adhesive on the back of your right hand side backwards C.
- Line the middle of the pop up just a couple hairs to the right of the middle fold of the base. It is bulky so you don’t want it directly on the fold.
- Now put adhesive on the back of the left hand side C.
- Fold the left side of the pop up on top of the glued down right hand side and then shut your base on the pop up to adhere the left side. This is critical for placement of the pop up.
- Retrain your folds!
Now you can layer up all your fronts, add a greeting and bling, tie twine around the middle for a belly band and prop it on your mantel to admire before you send it away to some very special person!
You always wanted to write a book. I think you are practicing on your stampers!
An editor would groan, but friends, if you ever see an error in my dimensions, please let me know so I can fix it. The recipe box is like a scrapbook of cards where you can click on one you like and get the dimensions even years later.
Have a wonderful Valentine’s Day!
SAL, Send A Lot of love cards
Karen

Like this:
Like Loading...


 So we really don’t need to watch the video, do we?!

 .
. 

 .
.