
Home » Posts tagged 'Shrinky Dink Technique'
Tag Archives: Shrinky Dink Technique
Best Friends’ Birthday Cards
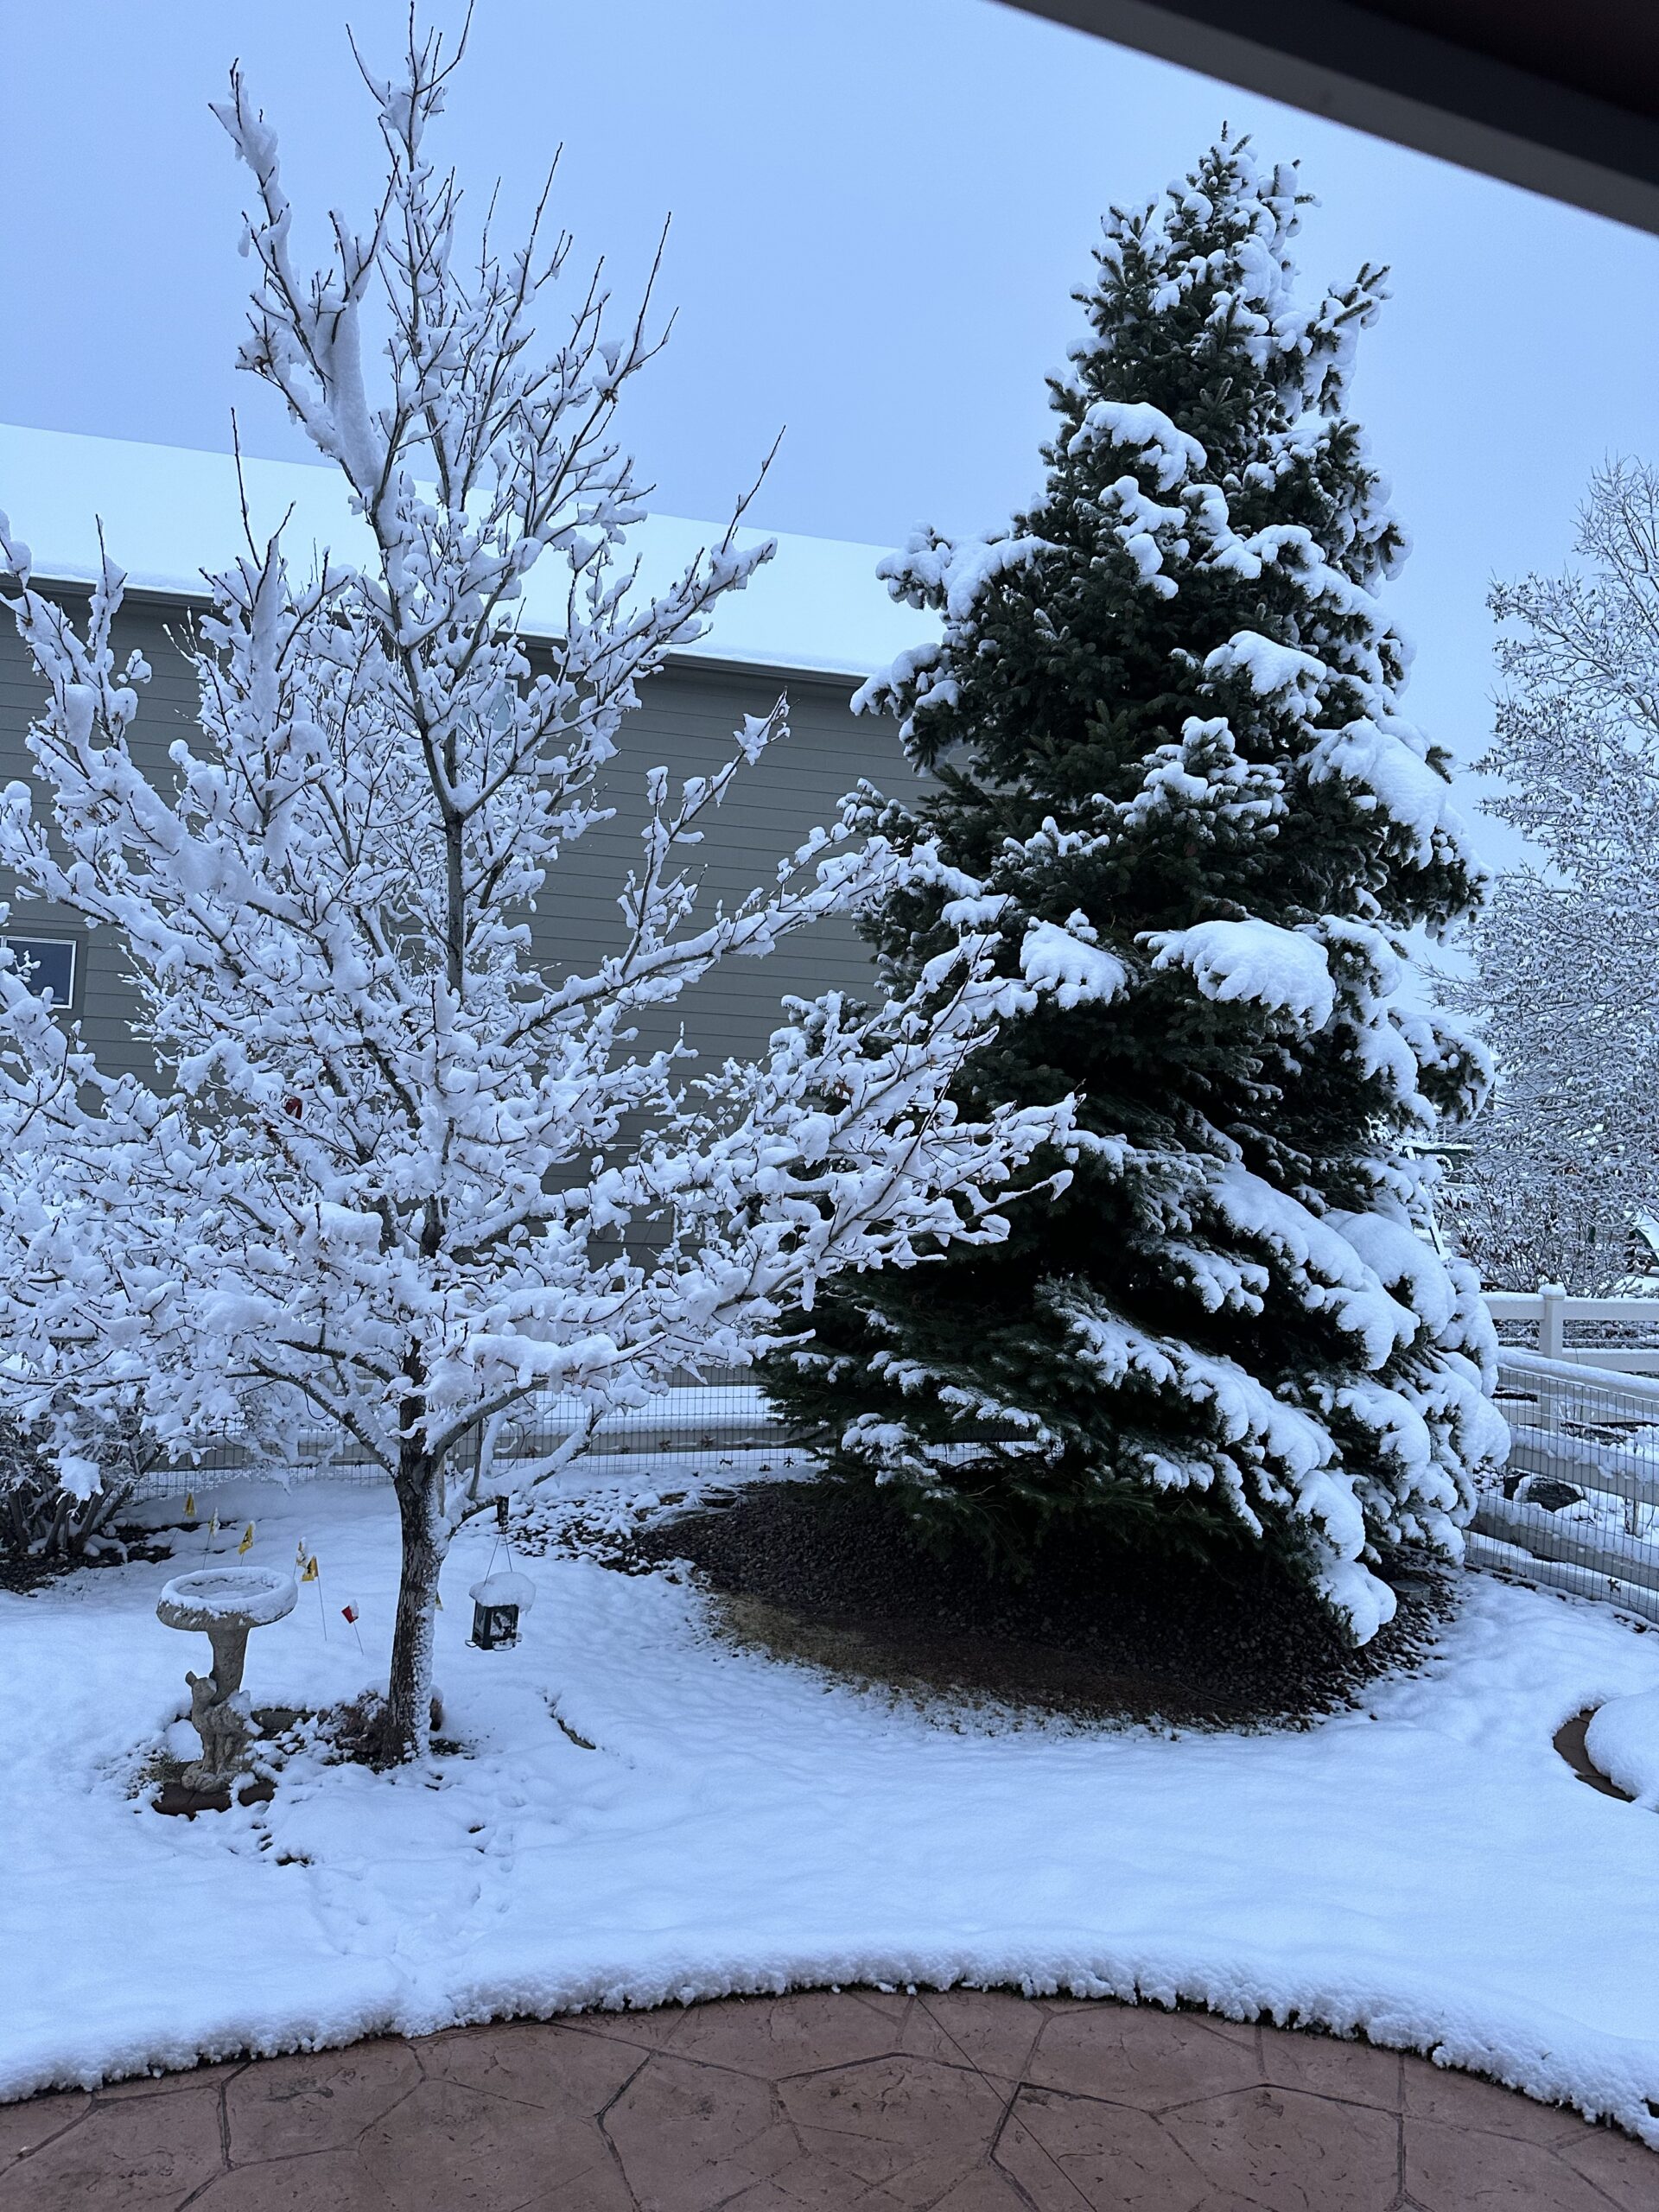
There are little daffodils poking up through the ground; poor things got covered with 4″ of new snow yesterday.


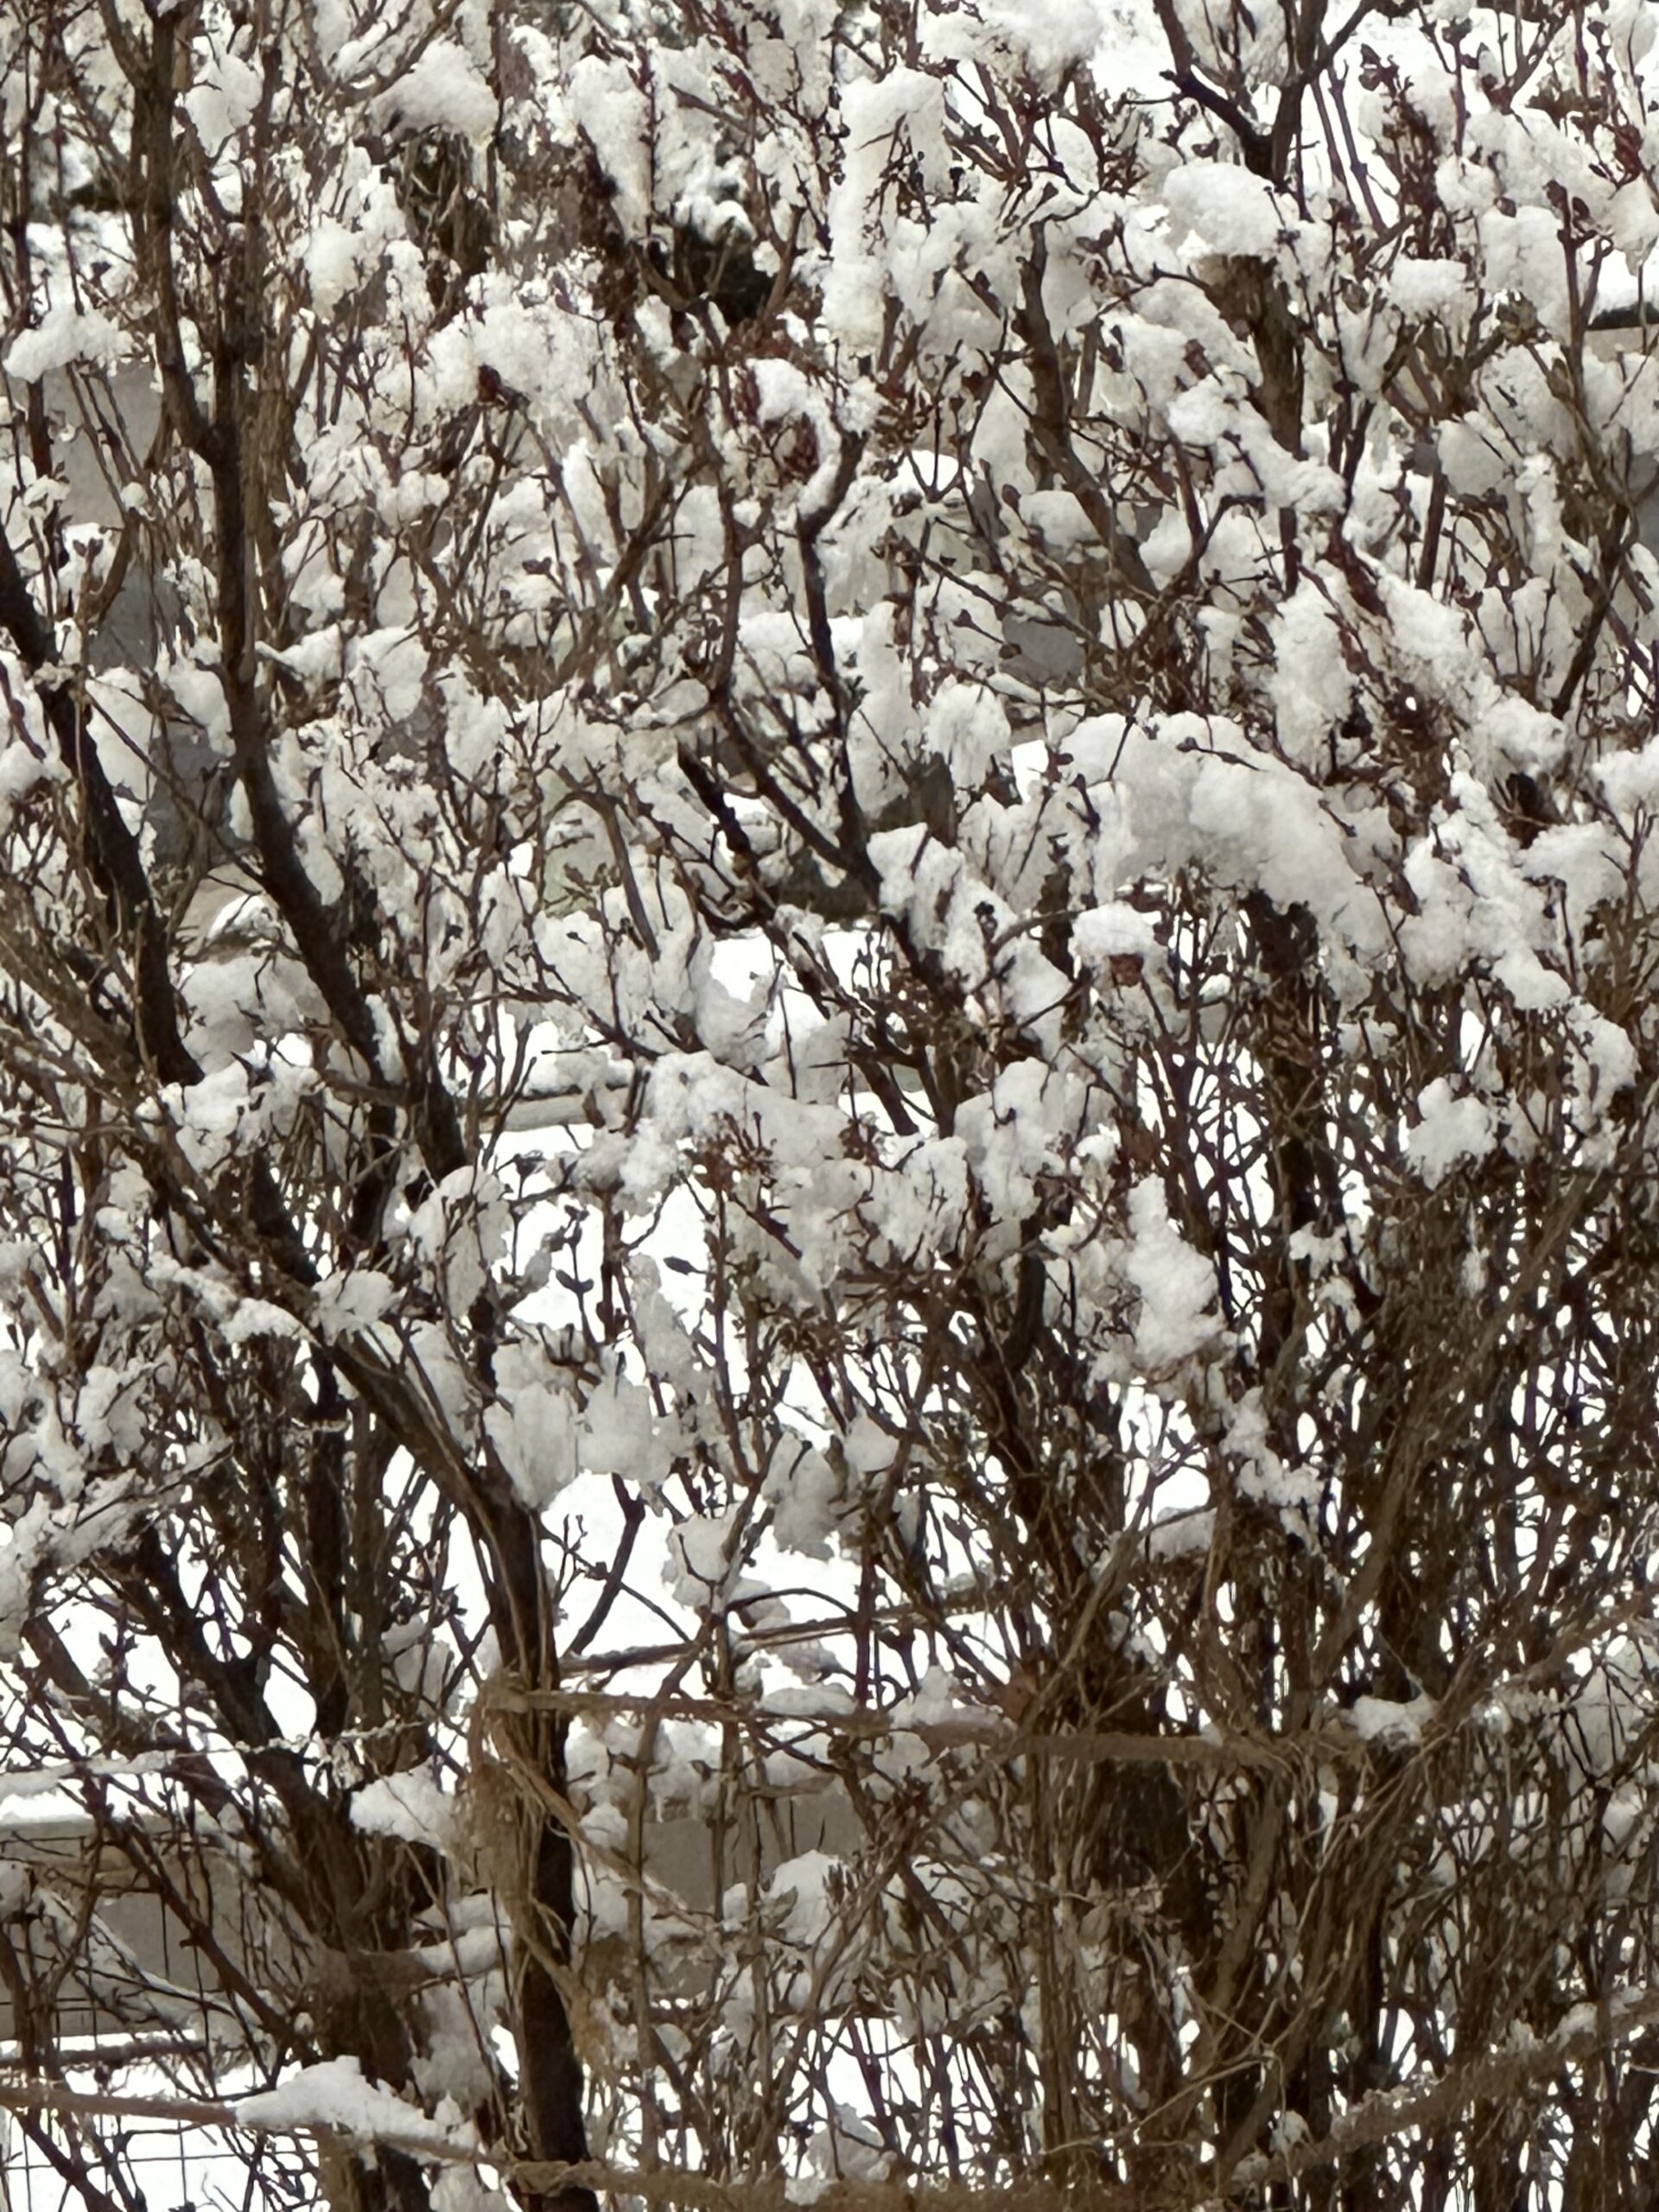
From a distance the bare branches of the bushes with clumps of snow look like we are growing cotton!

 Let’s head south! Way south!
Now Sal, this is just springtime in the Rockies! In another week we will be out getting flower beds ready for planting.
Today, I would like to show you a couple fun birthday cards and alert you to new postings in the ‘Bake Sale’ tab with many of the items I am purging.
 You can’t call them ‘new’ postings when there haven’t been any postings of sale items for eons.
True! Folks, there are postings in the Bake Sale of items I am selling. Better, Sal?
Back to the birthday cards! The first is a slimline card for Paul’s birthday with a stamp set from Whimsy called “Best Friends”.


Recipe
- Base: Thick Basic White, 8 3/8 X 6 3/4 scored at 3 3/8; (Note: 8 1/2 X 7 scored at 3 1/2 is the standard slimline but I wanted a 1/16″ reveal of the base)
- Border (X2): Early Espresso, 8 1/4 X 3 1/4
- Top Layer: Designer Series Paper, 8 X 3
- Inside Top Layers:
- Designer Series Paper, 4 X 3
- Basic White, 4 X 3
- Blue Cut Outs: Pacific Point, 8 1/2 X 3 1/4, Die Cut 2 large and three small shapes with Stampin’ Up! Diorama Dies then emboss with Stampin’ Up! 3D Cane Weave embossing folder
- Outside Greeting: Rectangle Stitched Framelit in Early Espresso 2 3/4 X 1 1/2, with Basic White Top Layer, 1 X 2 3/8
- Inside Greeting: Rectangle Stitched Framelit in Early Espresso, 3/4 X 2 7/8 with Basic White Top of 1/2 X 2 1/2
- Images: Basic White, 4 1/4 X 5 1/2, stamp in Memento Black, Color with Copic Markers
- YG03-straw; C3-milk & egg outlines using 0 to lighten and blend; B000-Cup
- Y13-butter; C5-legs & arms; V15-Jelly; R00-Tongue; E33-PBtr & Bacon
- E31-Toast top & cookie; E18-Toast crust & Chocolate chips; E15-Syrup
- B24-Together coloring after stamping in memento ink
- Happy Birthday – Stampin’ Up Hey Chick stamp set, all other greetings are from Whimsy Best Friends set
- Embelishments – 5 swarovski crystals
The characters and hearts on the front are popped up, the other pieces are adhered directly to the paper.
Here are individual pictures for the sake of looking closely at the coloring – I am new to these Copics and will need to refresh my memory frequently until I get used to numbers- plus, they are just cute to look at separately.

 .
.  .
.
 .
.
 .
. If you stamped me in black, could you color me with Copics?
We’ll try someday! For now I have another birthday card to show and this time I used some foiling. I have a special friend’s husband who has the most adventurous stories imaginable and he was a pilot so I put the two together to make his birthday card. It is a ‘never ending card’. We made this card at club for Valentine’s Day in 2016. Here is a hint – to effectively use the blog, go to the recipe box and find the thumbnail picture of the card you remembered making and click on the picture and you will go to that posting so you can make another card like it.
https://www.youtube.com/watch?v=ZF-FGBX_Cis
 .
.

Don’t let the picture fool you- this is a standard A2 card! Fold the top flap up and the bottom flap down and voila:
 .
.
I stamped the plane from Stampin’ Up!’s retired ‘Sky Is The Limit’ stamp set onto Shrinky Dink Paper, colored the back side, cut it out, and then cooked it to make a cute little card size 3D plane!
I stamped the clouds and then decided they needed to be a little 3D also so I added our puff paint. It stuck to the top of the paper so that wasn’t the best idea but it gives the cloud a little blue dimension. Now let’s fold the card again:
 .
.
Then once more up with the top and down with the bottom so we go to the back for a greeting:
 .
.
The foiled paper is from a retired Stampin’ Up! designer series paper and the gold ADVENTURE was a card front sent with my new Minc machine that we ran through the machine with gold foil. Paul figured out how to get all the large letters on the front flaps by cutting and gluing each one separately. I’ve ordered more foils so stay tuned for fun cards with foil embellishments.
Never Ending Card Recipe Basics (watch the video for construction)
- Base: Basic White, 4 1/4 X 11
- Cut in half for two 4 1/4 X 5 1/2 bases
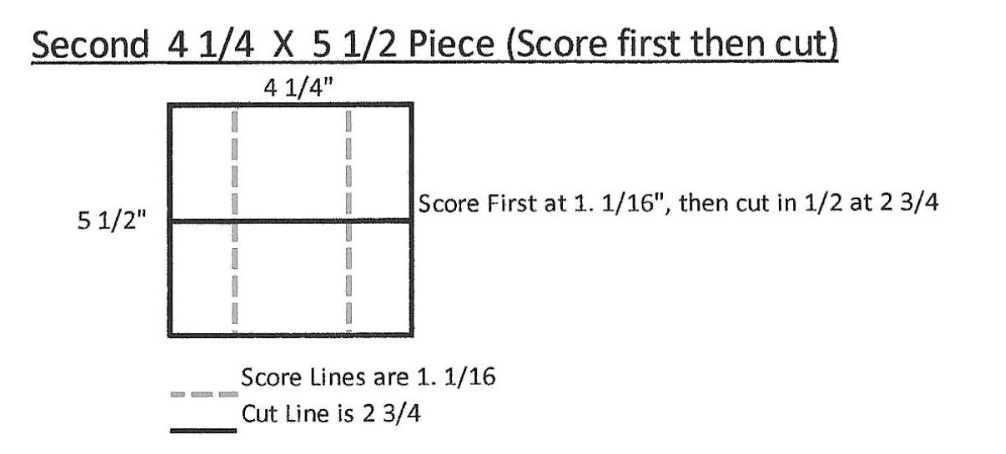
- Score one of the half pieces at 1 3/8″ on 4 1/4 top & bottom then cut that piece in half at 2 1/8,
- Score the other half piece on the 5 1/2 side at 1 1/16″ at top and 1 1/16″ at bottom, then cut in half at 2 3/4″

- Add two pieces of sticky tape right up to the score line on the two 4 1/4″ pieces

- Burnish all your score lines both ways
- Now the two pieces you cut in the first step that are 2 1/8″ X 5 1/2″ will go on top of the 4 1/4 X 2 3/4 pieces
- first adhere each piece to the bottom corner of the piece that has the sticky strip, laying your 4 1/4″ in line with the edge and bottom. The two pieces should meet in the middle
- then slide the top piece of the 2 3/4 X 4 1/4 piece in alignment with the bottom that now has the two pieces attached and then press the top onto the sticky strips


If you get all the pieces cut and scored with the sticky strip added, then it would be best to watch the video (at point 2:43) for how to lay the first two strips on top of the second two strips.
What the video doesn’t show is decorating the many sections and their dimensions so I will list those here. Note: If you like the design to exactly match, multiply the sections by 2 and then cut in half to match designs.
- Front Middle (X2): Blue foil DSP, 2 X 2 5/8
- Front Sides (X4): Blue Glimmer Paper, 7/8, X 2 5/8
- First Fold Middle (X2): Blue Sky DSP, 2 X 2 5/8
- First Fold Top & Bottom Sides (X 4): 7/8 X 1.1/4
- Second Fold Middle (X2): DSP, 2 X 2 5/8
- Second Fold Sides (X4): DSP, 7/8 X 1.1/4
- Back Middle (X2): DSP, 2 5/8″ X 2″
- Back Top and Bottom (X4): DSP, 1 1/4″ X 2″
And your next fold will bring you to the front again! Have fun. It should be marketed as a stress relief tool as you play with folding it back and forth! My first Never Ending Card (also called a Perpetual Card) was a Valentine card and I started with colored card stock bases so I could just add embellishments whilly nilly! You can click on the blue to see that card.
http://stampalosopher.com/?p=787
You had to make an extra base so you could give instructions so why not make another?!
Well, Sal, I do need a birthday card! Let’s do it!
 .
.
 .
.
 .
.

For this card:
- Basic White Base
- Purple Ombre Glimmer Paper
- How Sweet It Is Designer Series Paper
- “This Calls For Confetti”, So Sentimental stamp set with oval punch
- “Happy Birthday”, Birthday Chick Dies
- “Hope Your Day is…..” Postcard Pals with Tailored Tag punch
- “Hugs, Prayers, Love” Positive Thoughts with Peek A Hoot Dies Rectangle
- “Let’s Celebrate You” Birthday Chick Stamp Set
- Streamers, Birthday Chick Stamp Set
- Balloons with double balloon punch
- Vellum tiny envelope with punch and butterflies with retired butterfly thinlet
- Gorgeous Grape Ink
That could be your graduation cards, too!
A valid possibility!
I taught the Shrinky Dink technique several years ago in a technique club.

Are we able to go somewhere on your blog to see all your technique sheets?
That is a great idea, Sal! I will work on doing that, right after I get the products I am selling on the ‘Bake Sale’ tab. I could at least create a new tab and add this Shrinky Dink technique sheet. I need a short name to fit the tab so ‘technique’ is out – any suggestions?
Well, you have a ‘Recipe Box’ and a ‘Bake Sale’ so how about ‘Cookbook’?
Great idea, Sal! Consider it done!
The first of many products have been added to the Recipe Box!
Toodoloo friends! I hope you have found a pinch of creativity today to spice up your crafting world!
Karen

Shrinky Dink Card with Technique Sheet
Hello Stamping Friends,
Club members have a fun day making a technique sheet and a special card.
At January’s club I taught the Shrinky Dink technique using the humming bird in the ‘Humming Along’ set. The paper is our ‘Petal Promenade’ Designer Series Paper. It has sheets of paper with realistic little images to cut out like I have done here. The greeting is from ‘A Big Thank You’ .

The technique sheet is 6″ X 6″, perfect for putting in a photo album of that size for future reference.

I have some Valentines to post, since it is the day after the party and I won’t spoil the surprise, so I will sign off this post and begin another.
SAL, (Shrink Anything Large)
Karen

Welcome to my blog!

Sal Window to Products


